Generate A New SSH Key
Quick Status Check
- If you haven’t already, check if you already have a public SSH key set up.
- If you have already generated a public SSH key that you wish to use, please skip to the next step: Adding a public SSH key to your local device.
If that’s all in order, follow these steps to generate a new SSH key (which will later be added to your device and your GitHub account).
Step 1: Open Terminal
On your Mac device, open the Terminal app.
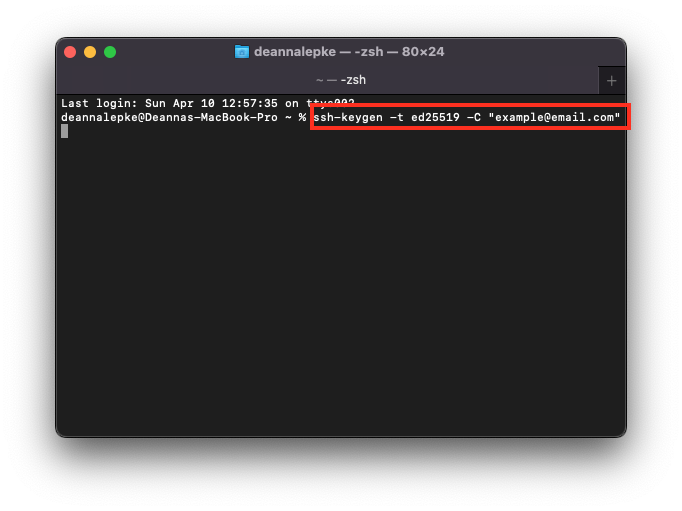
Step 2: Generate a new SSH key:
Enter the following into your Terminal:
ssh-keygen -t ed25519 -C "your_email@example.com"
 | This will generate a new SSH key on your device, using the Ed25519 algorithm. You can learn about this algorithm here. |
Step 3: Select a file to save your new SSH key in
When you’re prompted to enter a file name, you can simply press ‘Return’ (or ‘Enter’ on a non-Apple keyboard).
This will accept the default file location for your new SSH key.
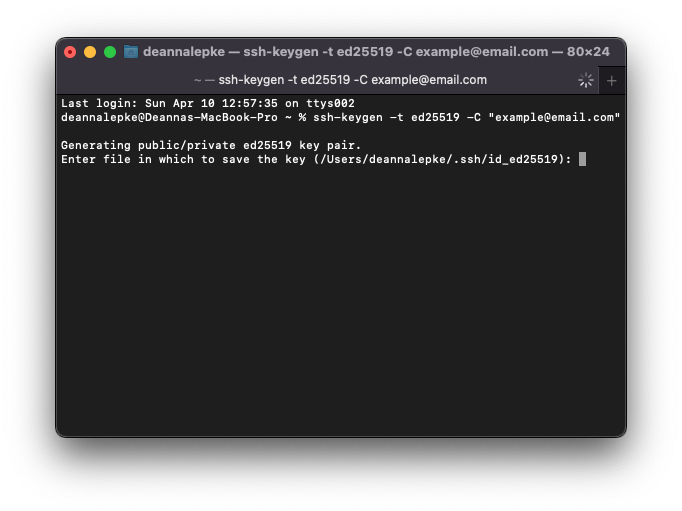
 | If you already have an existing SSH key on your local device, you may choose to proceed and overwrite your existing key. Ensure you do not need this old key before proceeding. |
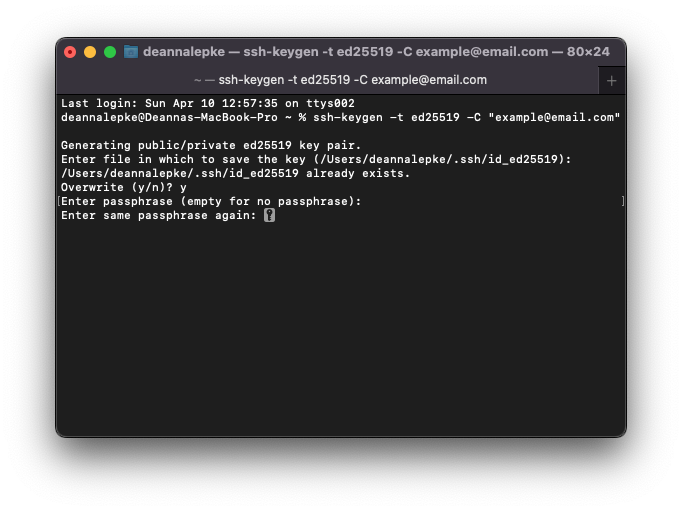
Step 4: Select a passphrase
When you’re prompted to “Enter passphrase”, you can either:
- Enter a secure passphrase (you will have to type this in every time you use your SSH key), or
- Immediately press ‘Return’ on your keyboard to skip and have no passphrase
When prompted, re-enter your chosen passphrase again. If you have chosen not to use a passphrase, you can press ‘Return’ again.